
Brandon Dusch
Joined 01-09-2023
MORE FROM@DUSCH4593


...

...

...
...
...
 Brandon Dusch
Prerequisites: HTML/CSS, JavaScript
Versions: HTML5, CSS3, ES6+ (JavaScript)
Read Time: 60 minutes
Have you ever wondered how some apps and sites let you check the weather?
In this tutorial, we're going build a web app that displays the current weather, using HTML, CSS, JavaScript, and a special ingredient... APIs!
With the power of Open Weather and a bit of coding magic, we can check our local weather forecast.
By the end of this tutorial, you will have learned to:
The finished weather app will look and work like this:
Let's get started!
First, we'll need to create the folders and files that will hold the code for our project. Let's begin by opening a terminal and creating a new folder named weather-app using the mkdir command. Then, go into this folder by using the cd command:
mkdir weather-app
cd weather-app
touch index.html styles.css script.js
This will create the following files in the weather-app folder:
We will return to these files later on. But for now, let's head over to OpenWeather!
OpenWeather provides several APIs (or application programming interfaces) for fetching weather-related data.
If you haven't already, you must create an OpenWeather account with a username, email, and password:

Note: You'll be sent a verification email; make sure to answer it!
Next, you'll be prompted to state what you want to do with OpenWeather's API.

I recommend choosing "Education/Science" or "Other".
You should now be ready to view your API key! After creating a new account, a new key should be generated for you. Near the top right, select your username, followed by "My API keys" in the dropdown:

After confirming you have an active API key, let's move on to the next step!
It's time to start writing some code!
Let's return to our code editor and re-open the index.html file.
Add the following HTML to start:
<!DOCTYPE html>
<html lang="en">
<head>
  <link href="styles.css" rel="stylesheet" />
  <title>Weather App</title>
</head>
<body>

</body>
</html>
Aside from the necessary <!DOCTYPE html> declaration, we've included a <link> element in the <head> to connect our HTML with our styles.css file (which we'll work on in the next step).
Next, let's add the following HTML inside the <body> element:
<body>
  <main>
    <section id="weather-wrapper">
      <h1>Weather App</h1>
      <div id="weather-search">
        <input id="search" type="text" placeholder="Search by city" />
        <input id="submit" type="submit" onclick="fetchWeather()" value="Search" />
      </div>
      <div id="weather-data" style="display: none;"></div>
    </section>
  </main>
  <script src="script.js"></script>
</body>
The <main> element holds all of our app structure, and includes a <section> element with the following:
<h1> heading element.<div> element with two <input> elements for searching for weather by city.<div> is empty for now, but will be populated with the data returned by the fetchWeather() function we'll write later on.We also added a <script> element to connect our HTML with the script.js file.
Note: The <script> element is written before the closing </body> tag to ensure all of the HTML is loaded and accessible to JavaScript.
If we save the index.html file and open it on the browser, it should look like this:
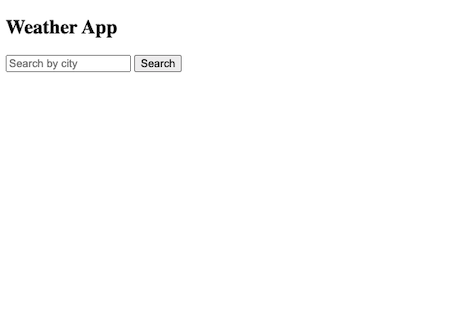
It's looking pretty bare-bones right now. But not to worry! We'll take care of that in the next step.
Let's add a little pizazz to our weather app by styling it with CSS!
For the most of this step, we will use plain CSS. However, we'll also use a fun layout model for CSS called Flexbox to help arrange our application content.
Inside of our styles.css file, let's begin by adding the following:
* {
  margin: 0;
  padding: 0;
  box-sizing: border-box;
}

body {
  background-image: url(https://bit.ly/4bcK1Hc);
  background-repeat: no-repeat;
  background-size: cover;
  font-family:'Gill Sans', 'Gill Sans MT', Calibri, 'Trebuchet MS', sans-serif;
  height: 100vh;
}
Here's what we did in the snippet above:
*), defaulting the margin and padding to zero, and factoring the padding and border into element sizes with box-sizing: border-box.body as tall as the screen on which it is rendered with 100vh. We're also setting its font-family information, with a default sans-serif font.background-image by passing an image link of Brooklyn (where Codédex is based) to the url() function. Feel free to use your own image, though!Next, we're gonna select the <main> element and add the following styles:
main {
  background-color: rgba(227, 193, 173, 0.85);
  position: relative;
  top: 30%;
  border: 1px solid;
  border-radius: 5px;
  min-width: 540px;
  max-width: 50%;
  margin: auto;
  padding: 2em;
}

h1 {
  margin-bottom: 20px;
}
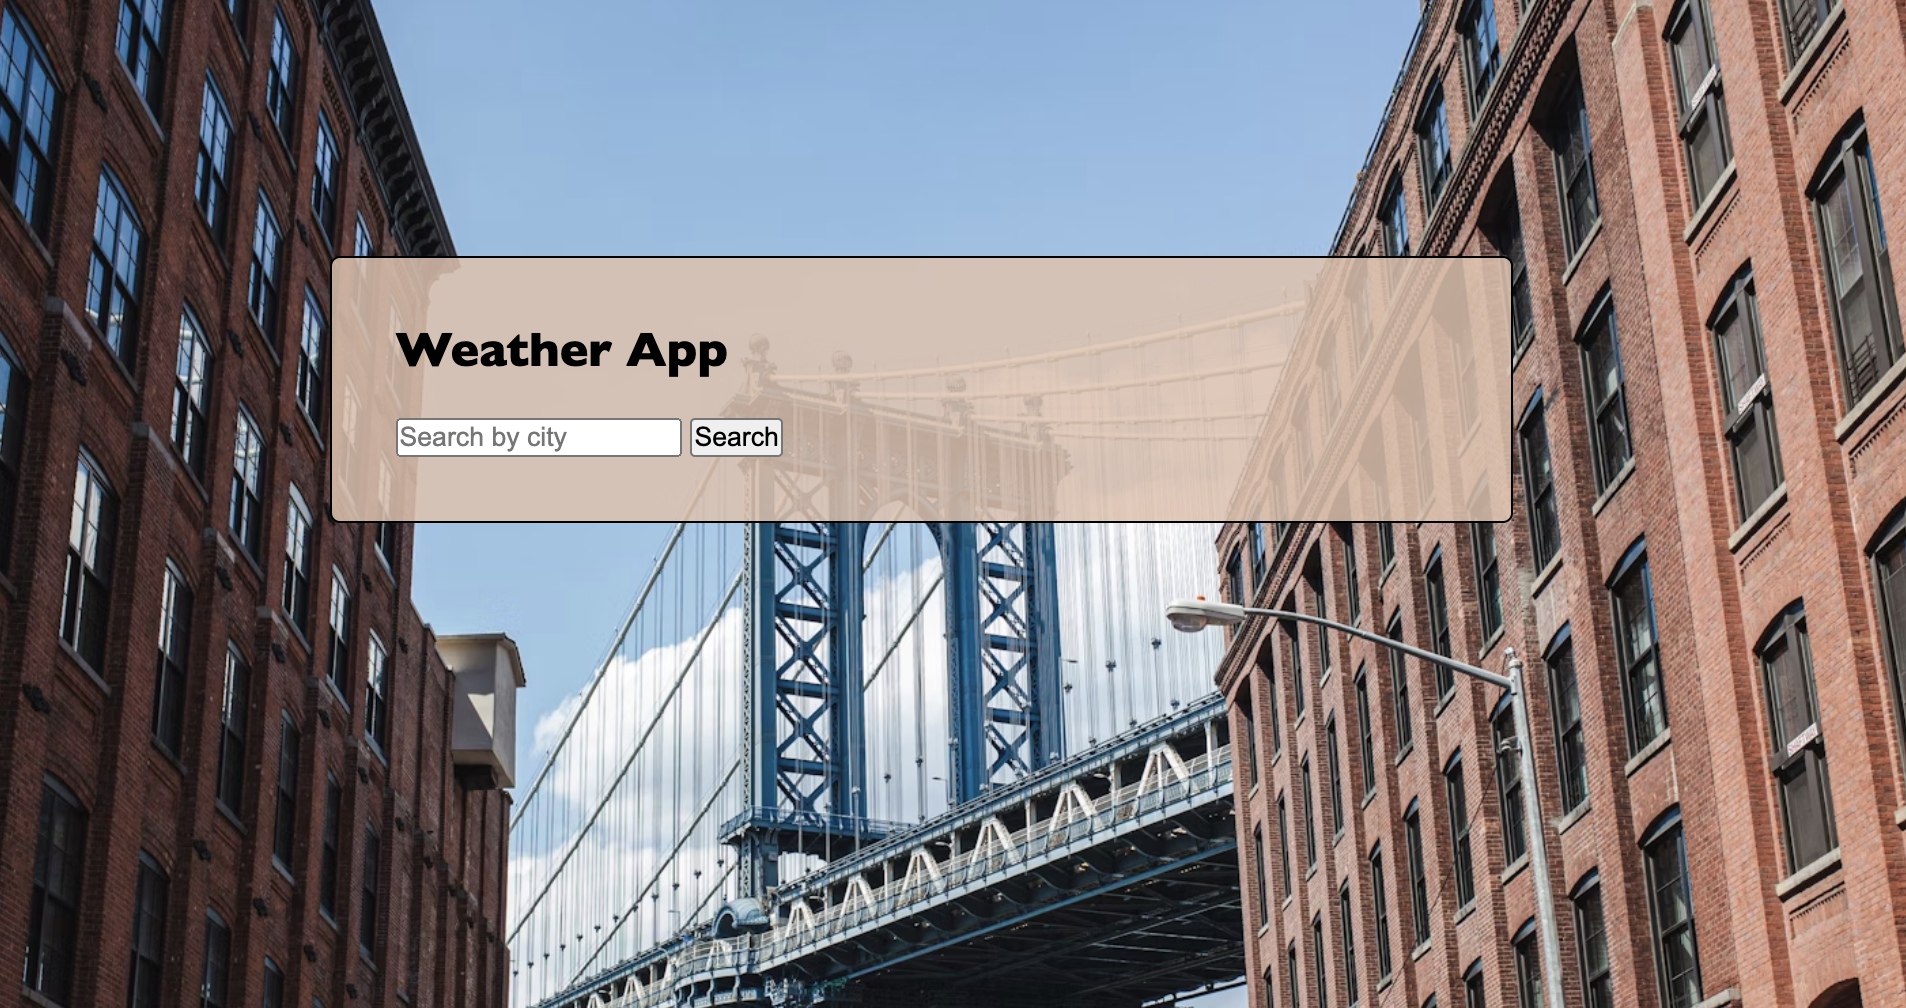
We styled the <main> element with the following:
background-color with RGB values, as well as a fourth value that makes the element 85% "see-through."relative position, and placed 30% from the top of the screen.border, border-radius, and padding.min-width of 540px and a max-width of 50%.<main> element is a block element, we centered it with margin: auto.Lastly, we added some space below the h1 element with margin-bottom.
Let's save our styles.css file. At this point, our rendered weather app should look like this:
Now, let's make the <input> elements appear larger to better match the <h1> heading above them. Select these elements with #search and #submit, and add the following:
#search {
  border-radius: 5px 0 0 5px;
  border: none;
  padding: 10px;
  font-size: 16px;
  width: 70%;
  height: 42px;
}

#submit {
  border-radius: 0 5px 5px 0;
  padding: 10px;
  font-size: 16px;
  width: 5em;
  cursor: pointer;
}
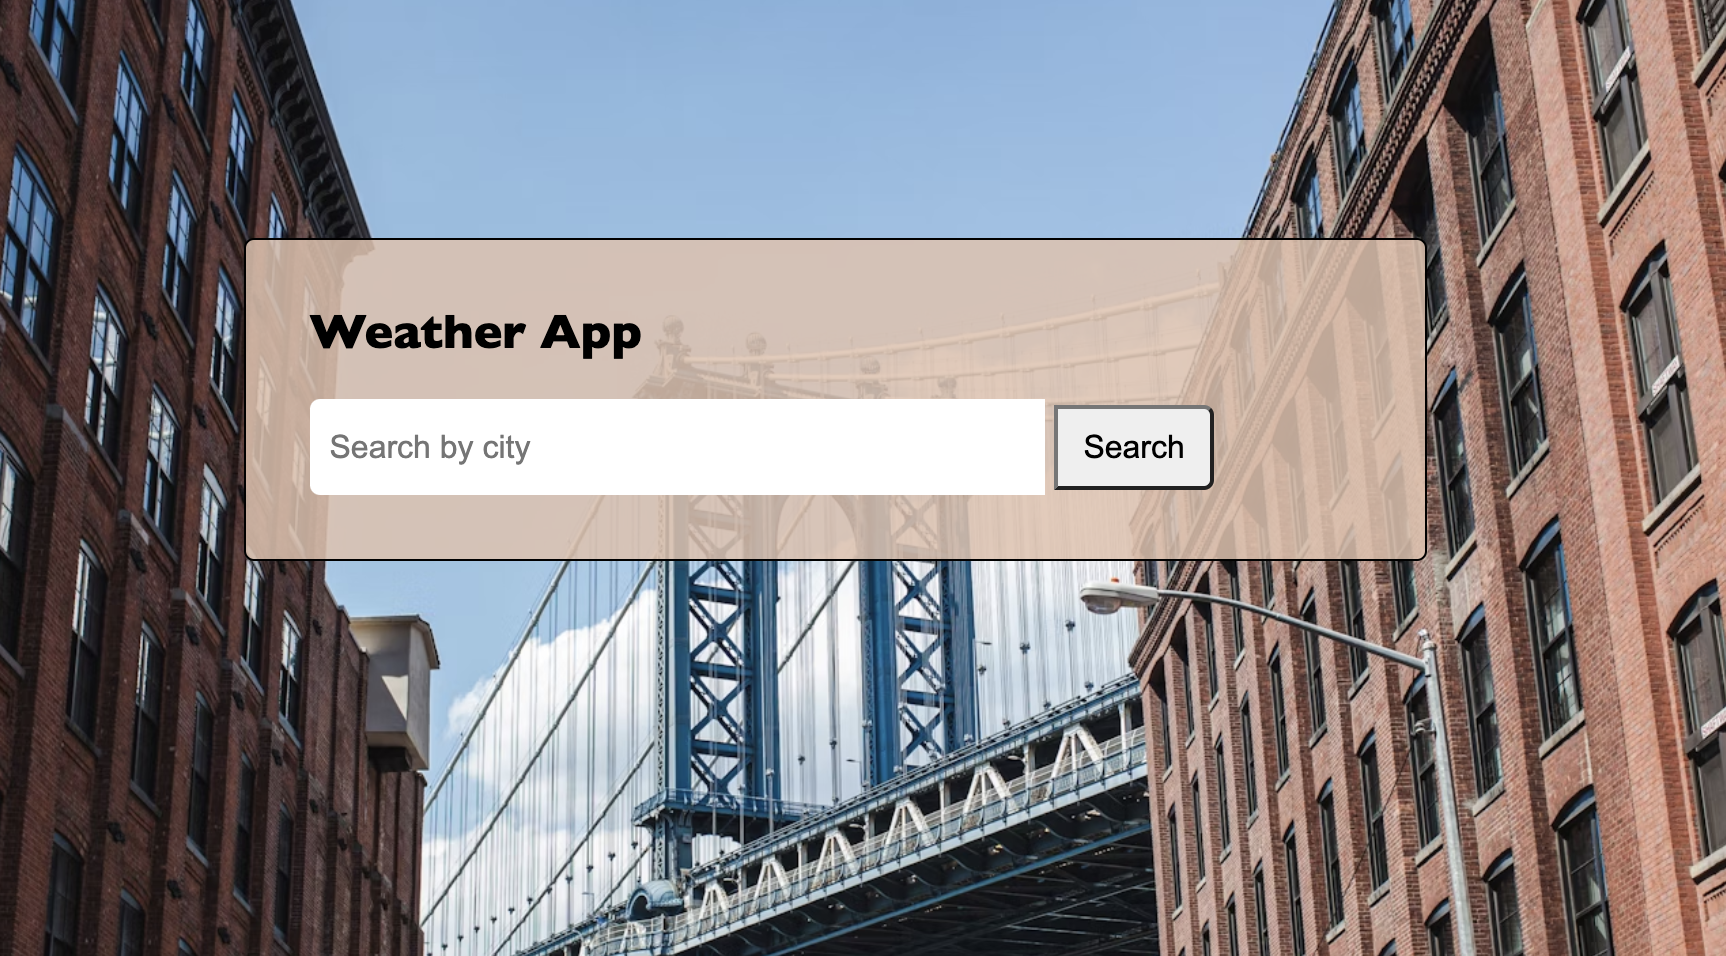
Both of these elements get the same styles for padding, and font-size.
The #search element gets a 70% width, as well as a height of 42px and no border.
The #submit element gets a width of 5em, along with a cursor: pointer style that makes the arrow turn into a pointing hand while hovering above this element.
Let's save styles.css and re-render the page:
Next, we're going to apply some CSS Flexbox to easily center-align the content in our weather app.
Select the #weather-wrapper and #weather-search elements, and add the following:
#weather-wrapper {
  display: flex;
}

#weather-search {
  display: flex;
}
This turns the #weather-wrapper and #weather-search elements into flex containers. Therefore, their child elements become flex items that we can align with certain properties.
Update these elements with the following:
#weather-wrapper {
  display: flex;
  flex-direction: column;
  place-items: center;
  justify-content: space-between;
}

#weather-search {
  display: flex;
  width: 50%;
}
By default, flex items are displayed in a row. But we changed this for the #weather-wrapper element by setting flex-direction to column.
To center-align the items, we used the place-items property. We also made the #weather-search element half the width of its parent #weather-wrapper element.
If we save the styles.css file again, the rendered page should look like this:

Excellent! Our app is coming together!
In the next step, we will code the JavaScript for our weather app. However, it will involve coming back to style our #weather-data element!
Remember the submit-type <input id="submit" type="submit" > element we created in the last step? It had an onclick attribute set to a function called fetchWeather().
In this final step, we are going to write this fetchWeather() function! Afterwards, when we type something and use the "Search" button, this function will activate every time.
Let's open our script.js file and start by defining a new fetchWeather() function:
function fetchWeather() {

}
This function takes no parameters. Next, let's create a few variables inside the function:
function fetchWeather() {
  let searchInput = document.getElementById("search").value;
  const weatherDataSection = document.getElementById("weather-data");
  weatherDataSection.style.display = "block";
  const apiKey = "REPLACE WITH YOUR API KEY";
}
In the snippet above, we did the following:
searchInput variable with the #search element's value, selected via document.getElementById().#weather-data element, where our search result will appear.
display property was set to none. We changed this to block in the function so the fetched data can be seen.apiKey variable with a placeholder string. Make sure to replace this with your OpenWeather API Key (from Step 2).Note: Never, ever share your API keys in public to prevent hacking and inappropriate use of API services. If you intend on pushing your tutorial code to a place like GitHub, replace the value of apiKey with a comment or empty string.
Since we now have a variable representing the #weather-data element, let's add an if statement that displays a custom message for empty input with the innerHTML property of the weatherDataSection variable:
if (searchInput == "") {
  weatherDataSection.innerHTML = `
  <div>
    <h2>Empty Input!</h2>
    <p>Please try again with a valid <u>city name</u>.</p>
  </div>
  `;
  return;
}
Note: Make sure this is done in the fetchWeather() function.
Next, let's define two inner functions that will help us with getting our weather information.
function fetchWeather() {
  // Previous code

  async function getLonAndLat() {

  }

  async function getWeatherData(lon, lat) {

  }
}
We need these functions to use two separate APIs from OpenWeather:
You may have noticed that these functions have the async keyword in front of them. We'll be using the companion await keyword, along with the fetch() function, to ensure we get valid weather information each time.
First, let's write the code for the getLonAndLat() function that will use OpenWeather's GeoCoding API to return the longitude and latitude data based on our searchInput.
We're only going to search by location. Therefore, the searchInput should be a string of a valid location or city name (e.g., "Pittsburgh" or "Brooklyn, NY").
Note: But feel free to add more search criteria to this code (e.g., zip code)!
Let's define two variables in getLonAndLat():
async function getLonAndLat() {
  const countryCode = 1;
  const geocodeURL = `https://api.openweathermap.org/geo/1.0/direct?q=${searchInput.replace(" ", "%20")},${countryCode}&limit=1&appid=${apiKey}`;
}
We defined a countryCode integer that is needed for the GeoCoding API to work. Next, we made a geocodeURL of the API endpoint that includes the countryCode along with the apiKey we defined earlier.
Note: The countryCode for the U.S. is 1, but yours may be different. Try searching for yours here.
To return the longitude and latitude data, we need to fetch it from the API. Let's add the following to getLonAndLat():
const response = await fetch(geocodeURL);
if (!response.ok) {
  console.log("Bad response! ", response.status);
  return;
}
This returns a response object from the API. However, because this data is coming from another computer (probably a server), it may not be returned immediately. Also, the program is allowed to run ahead, even if there is no response yet.
This is why we use async/await; the await-part prevents the associated async function from continuing until response data is returned from fetch(). We then store this in a response variable. If we get a bad response (i.e., !response.ok), then an error message is logged and nothing is returned.
Next, we want to get the actual geocode data in JSON (or JavaScript Object Notation). We can use the response object's .json() to do this! And since the data is coming from the response, it is asynchronous and we must use the await keyword:
const data = await response.json();
Then, let's add the following if/else statement below where we defined data:
if (data.length == 0) {
  console.log("Something went wrong here.");
  weatherDataSection.innerHTML = `
  <div>
    <h2>Invalid Input: "${searchInput}"</h2>
    <p>Please try again with a valid <u>city name</u>.</p>
  </div>
  `;
  return;
} else {
  return data[0];
}
If our API call wasn't successful, our data array will be empty and an error message will be rendered. Otherwise, there should be a JSON object stored as the first element and we'll return that in the else clause.
Now it's time to work on the next inner function!
The getWeatherData() function accepts a lon and lat parameter that will be used in the API call for the current weather data. This information comes from the getLonAndLat() function we defined earlier.
Because this function will also works with fetched response data, it also gets the async keyword.
First, we'll define a weatherURL variable and assign the other OpenWeather API endpoint string to it:
const weatherURL = `https://api.openweathermap.org/data/2.5/weather?lat=${lat}&lon=${lon}&appid=${apiKey}`;
Next, we'll define a response variable and assign to it the object returned by the fetch() function with the weatherURL passed in.
Note: Don't forget the await keyword for the response and data variables!
const response = await fetch(weatherURL);
if (!response.ok) {
  console.log("Bad response! ", response.status);
  return;
}

const data = await response.json();
Like before, we'll print an error message and return nothing if there's a problem. Otherwise, we'll press on and make another data object with the JSON object for the current weather data.
For this next part, we'll finish work inside of the getWeatherData() function, as well as in the outer fetchWeather() function. We'll be displaying the data information we just got to our HTML file. Then, we'll get to actually see the requested API data displayed on the browser!
Using the weather information from the data variable, let's do the following with the weatherDataSection:
weatherDataSection.innerHTML = `
<img src="https://openweathermap.org/img/wn/${data.weather[0].icon}.png" alt="${data.weather[0].description}" width="100" />
<div>
  <h2>${data.name}</h2>
  <p><strong>Temperature:</strong> ${Math.round(data.main.temp - 273.15)}°C</p>
  <p><strong>Description:</strong> ${data.weather[0].description}</p>
</div>
`
We used the .innerHTML property to assign some new HTML to the selected #weather-data element, such as:
data.weather[0].icon for an image representation of the current weather.data.name for the location/city.data.main.temp for the temperature (measured in Kelvins by default, hence the rounding).data.weather[0].description for a brief description of the current weather.We are now finished with writing the getWeatherData() function! But now, we need to actually use the functions we just defined to finish writing the outer fetchWeather() function.
Near the closing curly brace } of the outer fetchWeather() function, add the following:
document.getElementById("search").value = "";
const geocodeData = await getLonAndLat();
getWeatherData(geocodeData.lon, geocodeData.lat);
searchInput to an empty string so that the text input is cleared on the app after searching.geocodeData variable with the longitude and latitude data returned by the getLonAndLat() function.getWeatherData() function and passed in the .lon and .lat properties of the geocodeData variable.Since the data returned by getLonAndLat() is asynchronous response data, we placed an await keyword before it. Therefore, we need to add the async keyword to our outer fetchWeather() function:
async function fetchWeather() {
  // Rest of code below
}
Let's save script.js and test if our app now displays weather data when we search by location.
We're almost finished!
There are just a few last things to do for both the CSS and JavaScript files. Our #weather-data element is behaving as expected, but now let's style it a bit more!
In the getWeatherData() function, let's place the weather information beside the icon by changing the display property of the weatherDataSection variable from "block" to "flex":
weatherDataSection.style.display = "flex";
weatherDataSection.innerHTML = `
<img src="https://openweathermap.org/img/wn/${data.weather[0].icon}.png" alt="${data.weather[0].description}" width="100" />
<div>
  <h2>${data.name}</h2>
  <p><strong>Temperature:</strong> ${Math.round(data.main.temp - 273.15)}°C</p>
  <p><strong>Description:</strong> ${data.weather[0].description}</p>
</div>
`
We made the #weather-data element a flex container with JavaScript code... wow! Go ahead and save script.js.
Now, re-open the styles.css file and add the following to the bottom:
#weather-data {
  background-color: rgba(255, 255, 255, 0.85);
  border-radius: 5px;
  padding: 1.5em;
  margin-top: 20px;

  text-align: center;
  align-items: center;
  gap: 12px;
}

#weather-data > img {
  border-radius: 50%;
  background-color: lightskyblue;
}
In the snippet above, we added some more styles to the #weather-data element, including:
background-color that is semi-transparent (rgba()).border-radius, padding, and margin-top.Congratulations! We finished building our weather application!
Let's go ahead and save our styles.css file one last time! Refresh the rendered page and try typing in your favorite city:
Using the three building blocks of HTML, CSS, and JavaScript, we were able to build a functional application that uses some deep frontend and backend elements such as:
fetch().document.getElementById().How would you build upon this application? Some ideas could be adding more data like humidity and wind/gust speed, or including a 5- or 10-day forecast.
Need Help?
Joined 01-09-2023